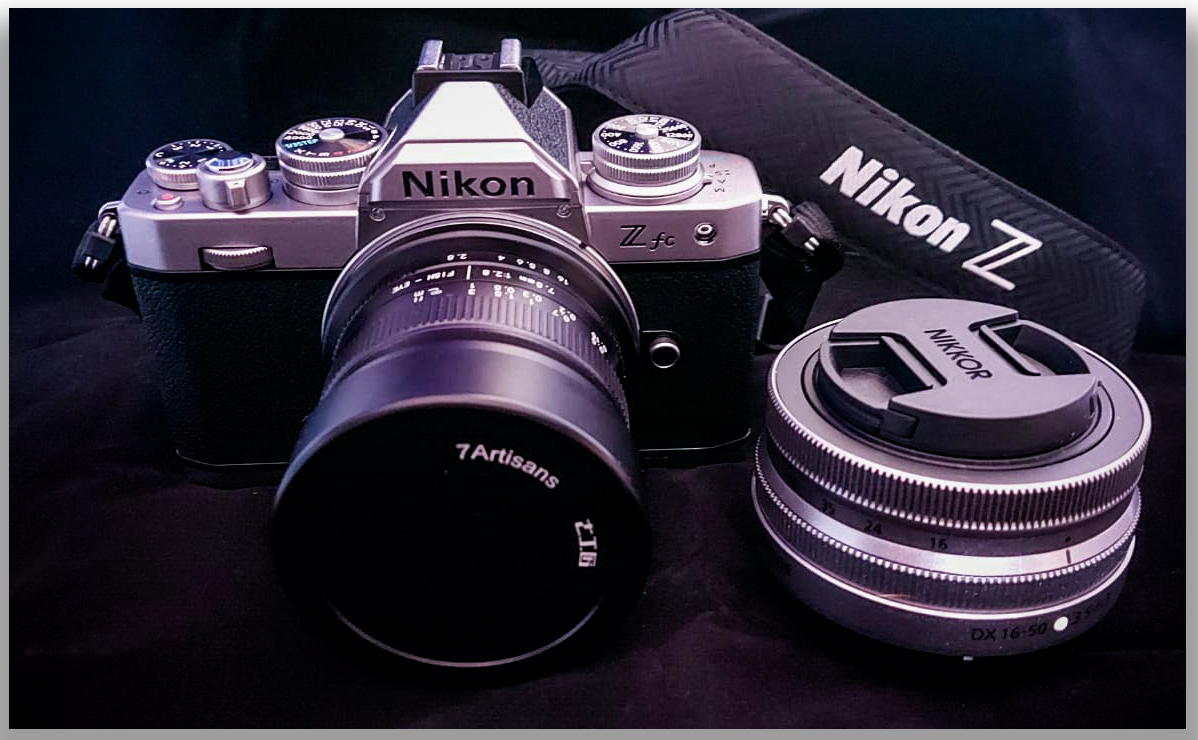
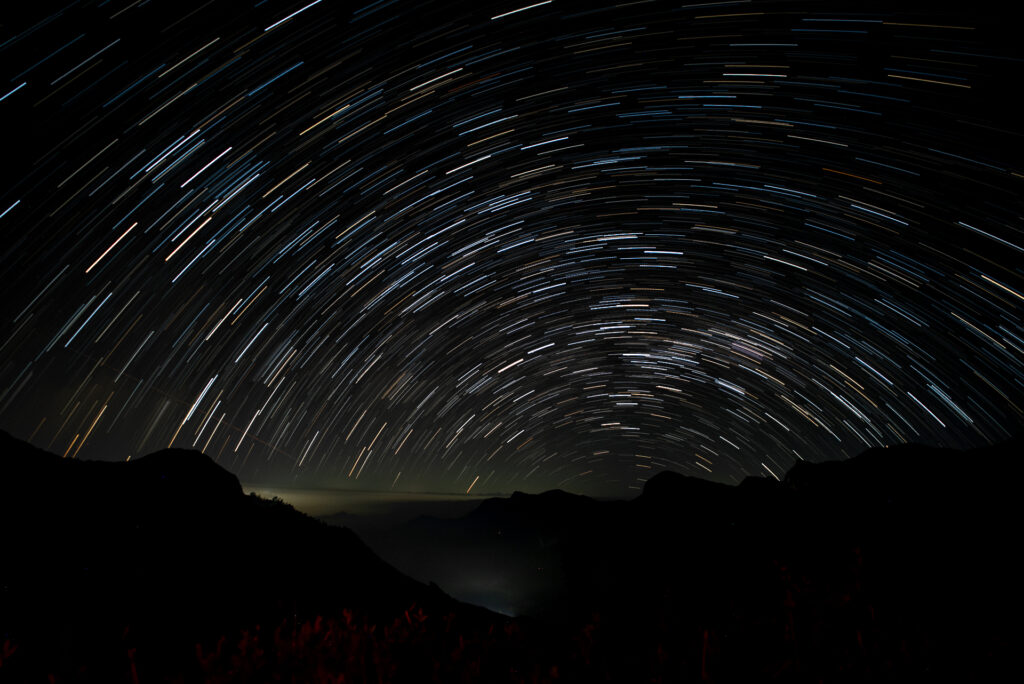
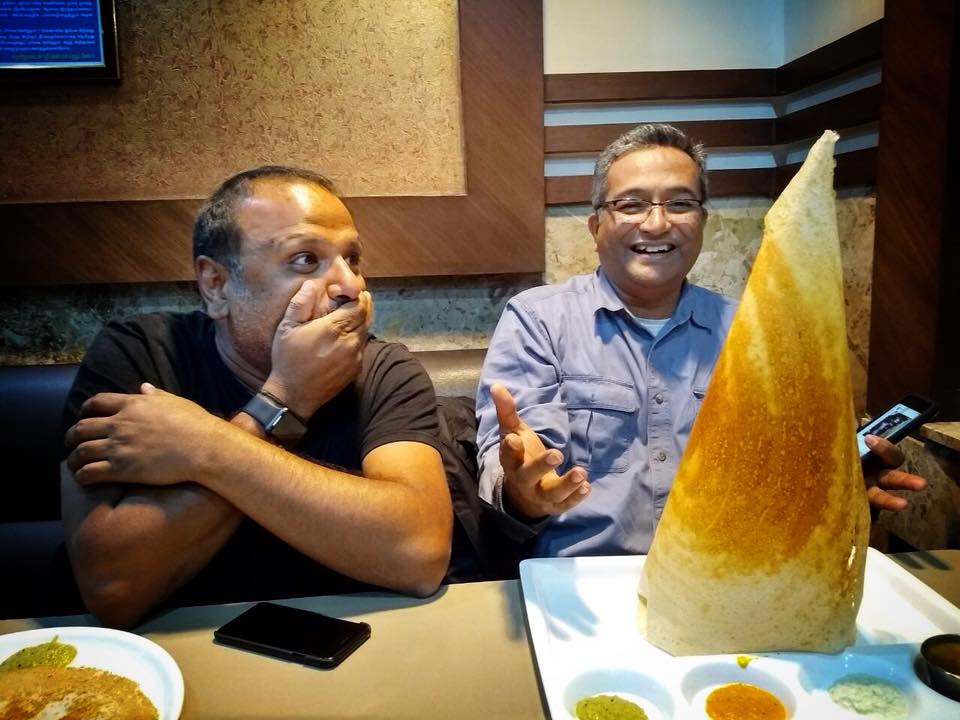
Not all decisions in life have to be rational, my decision for buying “Nikon Zfc” was just that!
In this post, I will share my experience with this beauty and what I personally think of this beauty and share some pictures shot with this beauty.
Nikon says “Classic design meets modern engineering” when they introduce this camera on their website. I personally agree with this, it is the retro design that was the biggest factor for me to buy this camera. Having used old film cameras in the past I just fell in love with the design and all the controls on the top of the camera.
Important Specifications:
Lens mount: Nikon Z mount
Image sensor format: DX (Crop Sensor)
Image sensor type: CMOS
Total pixels: 21.51 million
Effective pixels: 20.9 million
My Take :
Some Images and what I did to shoot these images; Please note I use different kind of lenses and usually prefer lenses with no electronics and completely manual, so this is not a exhaustive review, however i will try to share my experiences with this beautiful camera and lenses I used.
Usage with Kit Lens (with Z DX 16-50mm f/3.5-6.3 VR):
The first thing I wanted to do was check the kit lens and this is what I shot with it.
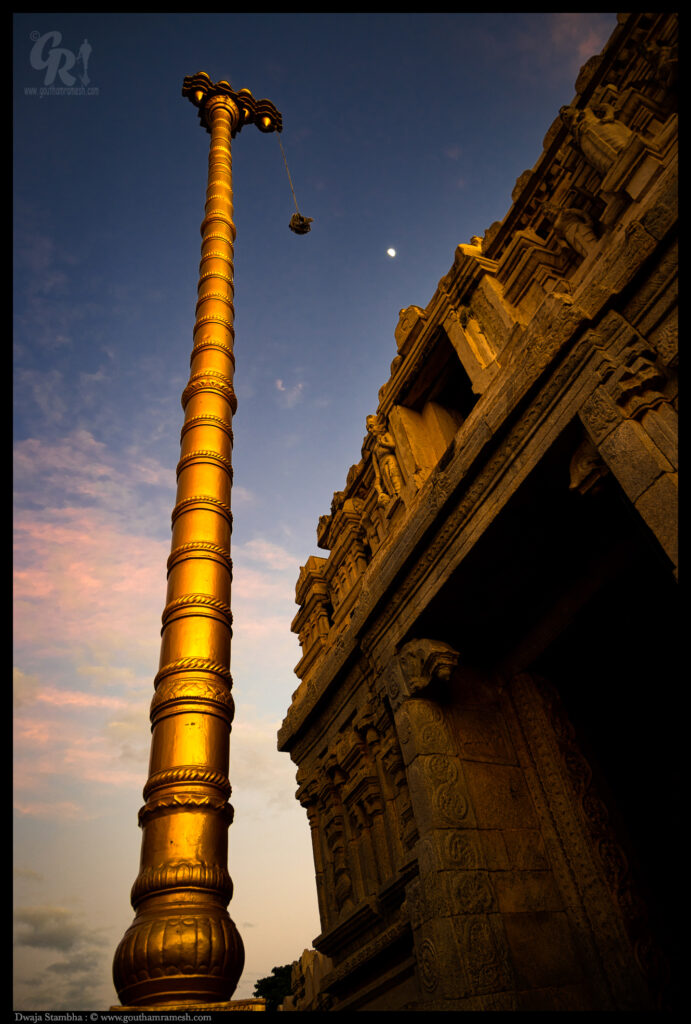
Exposure : 1/15 sec at F3.5 ISO 200 Shot at 16mm
First thing i did was check the Kit lens and how it performs at fully open aperture and I was pleased to get a decent shot with good color tones and decent sharpness.
The NIKKOR Z DX 16-50mm f/3.5-6.3 VR is the smallest and the lightest lens available for the Nikon Z mount.Sporting an all-plastic construction and plastic mounts, these lenses are specifically designed to be as small and as lightweight as possible, while taking advantage of the short flange distance of the Z mount. At a mere 135 grams, it is impressively light ; in fact, it is the lightest DX / APS-C lens Nikon has produced to date! Optically, the lens is comprised of 9 elements in 7 groups, four of which are aspherical elements, and one of which is an extra-low dispersion element. Similar to other Nikon Z lenses, the 16-50mm VR comes with a stepping motor, which delivers quiet and fast autofocus performance. Nikon incorporated optical image stabilization into the lens, and it is supposed to compensate camera shake by up to 4.5 stops ( Yes 4.5 Stops ) .
Considering all this it produces decent results and a great lens to have with Nikon Zfc especially while shooting architecture and street.
Usage with 7Artizans 7.5mm Fisheye Manual Lens:
I love perspectives from fisheye and sometimes even distortions , it is not everybody’s cup of tea and some hate it. But personally for me it gives some perspectives which i like a lot and deviates from mundane.
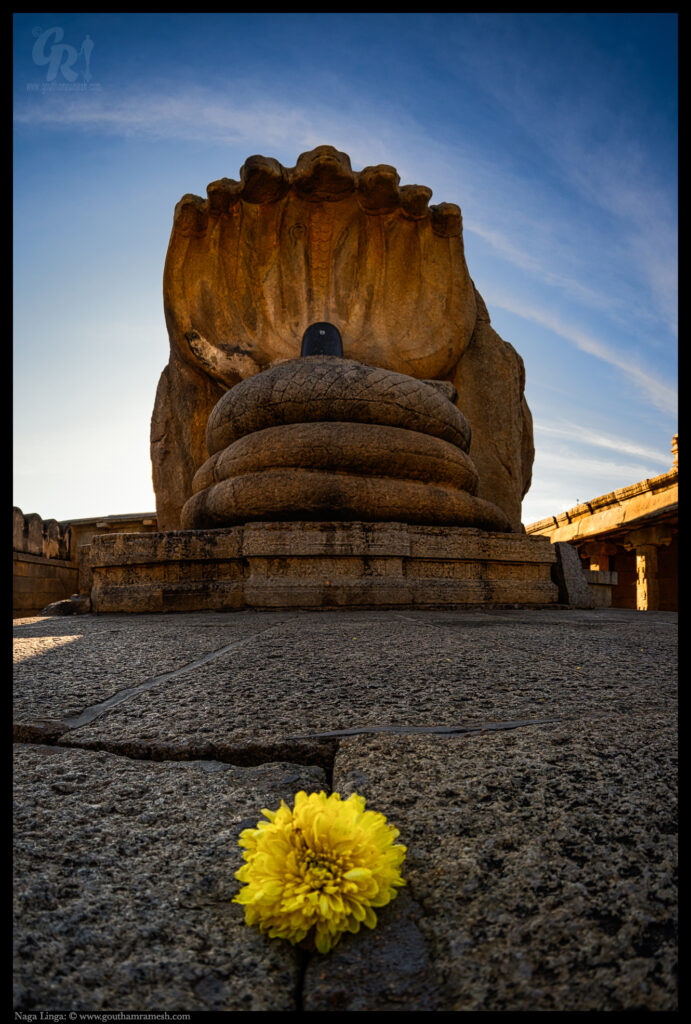
Exposure : 1/250 sec at F8 ISO 100
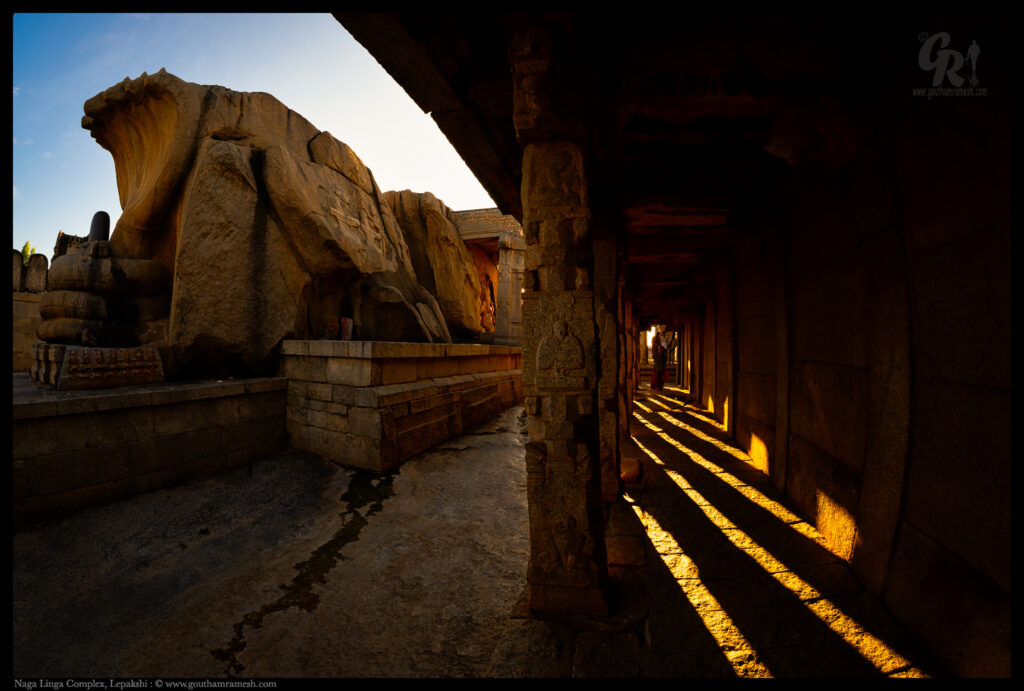
Exposure : 1/125 sec at F5.6 ISO 100
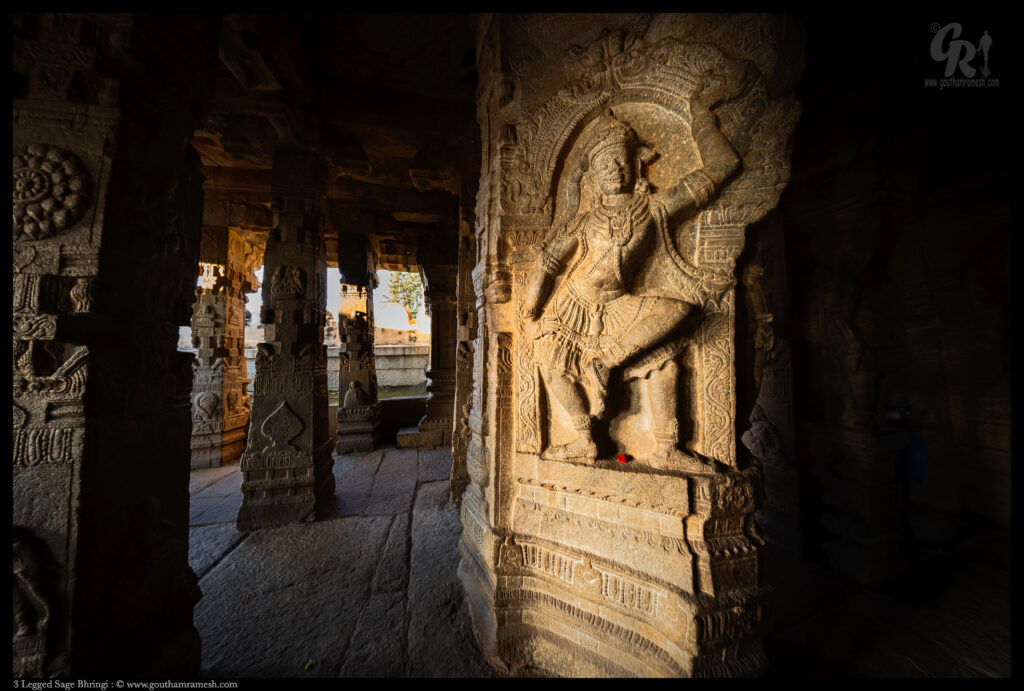
Exposure : 1/5 sec at F2.8 ISO 100
7.5mm f/2.8 from 7Artisans produces rectangular images that cover the entire APS-C format, unlike Circular Fisheye lenses which produce round images within the rectangular field. . This Lens has a solid, high-quality feel in the hand and the focus ring completes its arc in about 1/5 of a turn and the aperture ring is click-free. Exposure is not automatic. Set the camera on Aperture Priority and select a suitable f/stop or go Manual and trust the meter. This lens is manual focus; in fact, it’s manual in everything..
The DOF so extreme that precise focusing isn’t necessary at apertures smaller than f/5.6. Minimum focus is 5.9 inches.
Using this lens on Nikon Zfc was fun and they work very well and if you swear by manual exposure and focus like me you will enjoy this; For people who shoot auto and rely on auto focus this lens is not for you.
Usage with 100mm Laowa Macro + FTZ adapter:
This was the combination that I was always interested in , because I do lot of macro and would love to shoot with Bokeh. You can see my Laowa lens review here.
All these images are shot at 2.8 to get a round bokeh.
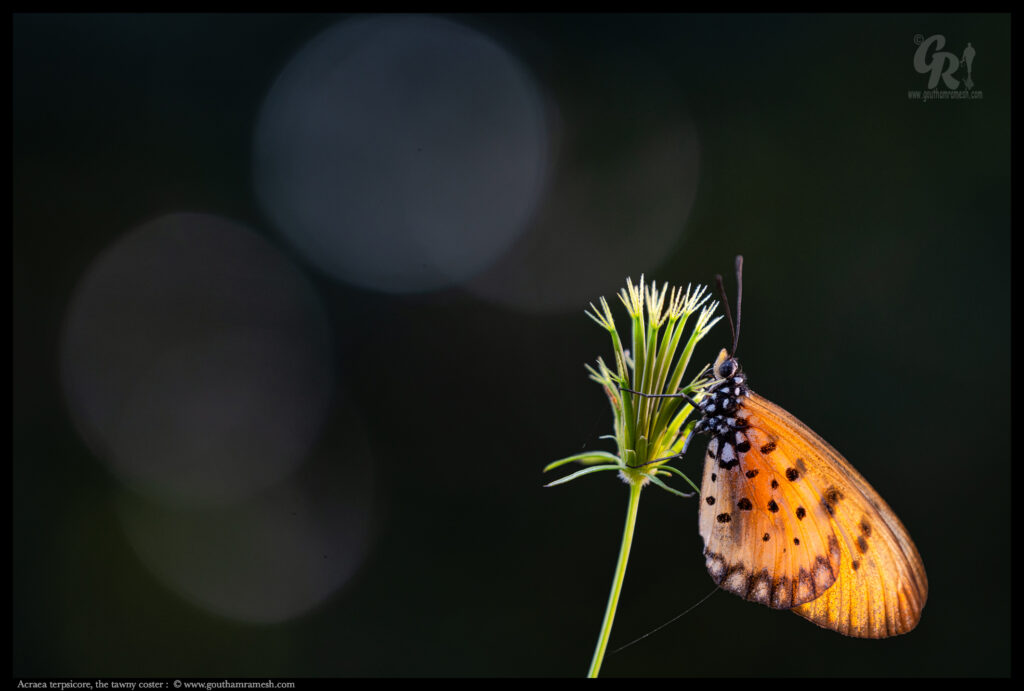
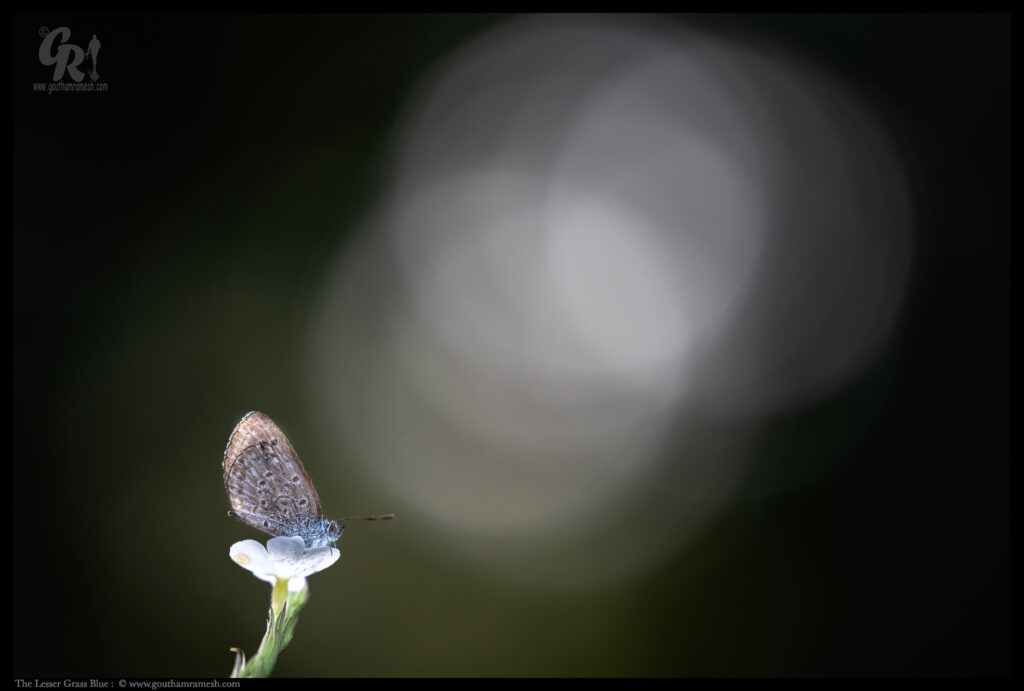
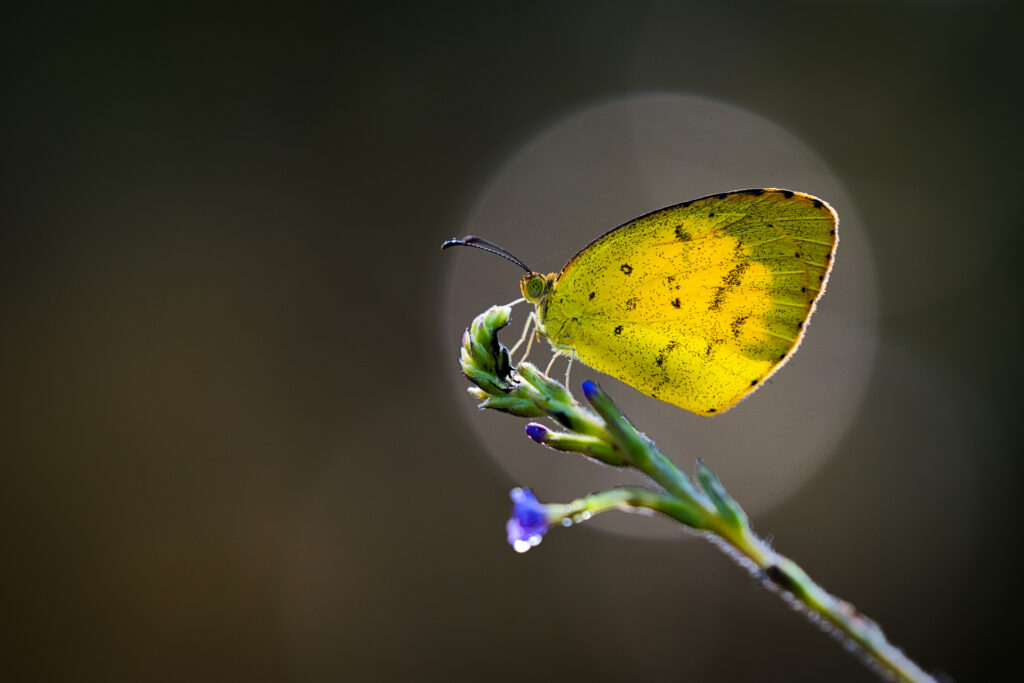
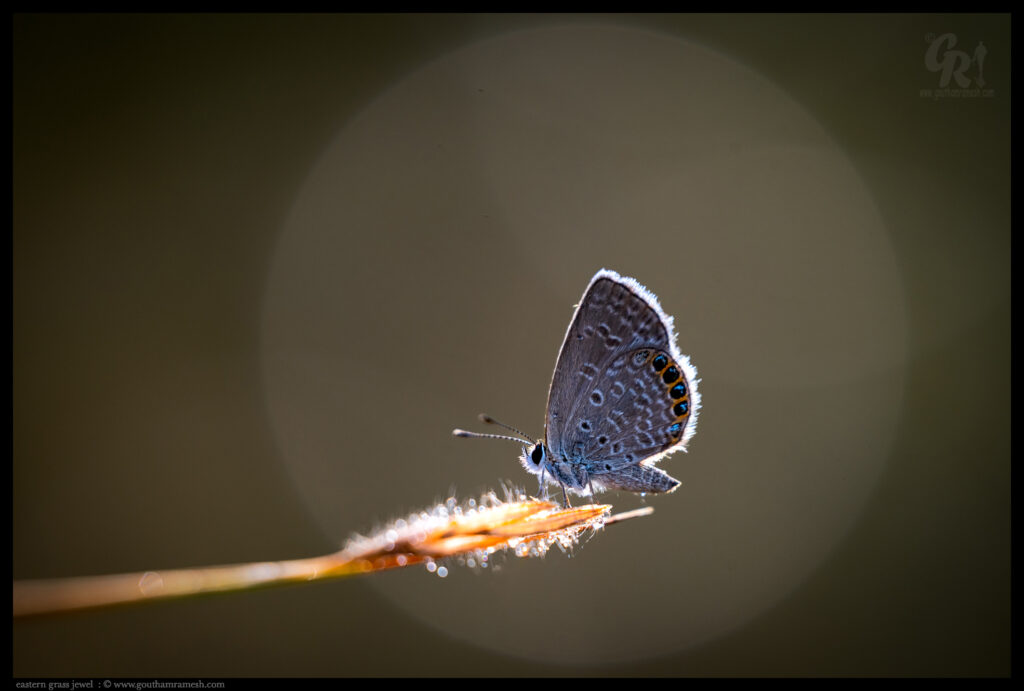


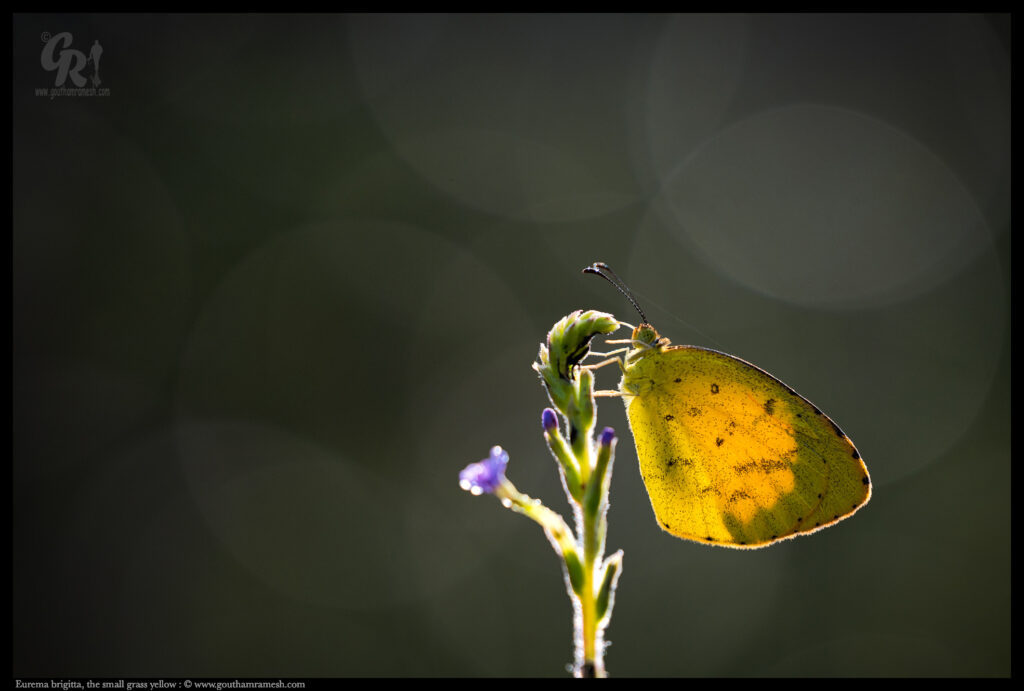
Using Nikon Zfc with Laowa 100mm and FTZ adapter was fun , but also slightly difficult because of lack of hand grip on the camera ( A simple monopod or a small rig grip will solve this problem) .
I love round bokeh and inorder to get that I need to open the aperture , which gives me a very shallow DOF. Now order to make the picture look good with this setting my focus have to be perfect and also I need to be parallel to the subject, with laowa lens which is manual this is a herculean task , this is where focus peaking on Nikon Zfc helped! What an amazing setting this is.
Focus peaking is a focusing aid in live preview or electronic viewfinders on Nikon Zfc that places a white or coloured highlight on in-focus edges within an image using an edge detect filter.
Now, one may ask why a tool such as this is necessary, with the high-resolution LCDs and EVFs being released today. This is because as great as those screens are and as perfect as your eyesight may be, being able to see what is in focus quickly and clearly can dramatically speed up your work. Also, it is always nice to get another, perhaps more precise, opinion on the technical aspects before you get home and find out that you barely missed the shot you needed.
Peaking also shows up in real time, giving you near-instantaneous feedback as you rack focus through a scene. Importantly it helps you see what all area is in focus!
How to set focus peaking and use , see the video here https://www.youtube.com/watch?v=auBqCn9RdLo.
Thats it friends , I just wanted to share my experience and my take for detailed review there are many sources on the net.
I bought this camera from https://www.videolinks.com/ , Great service from Anish George and his team, They really went out of their way to get me this camera, especially during these days when most of the equipments are out of stock.
Thanks if you like the blog, you can leave a comment at Home Page
Cheers


