It is a known fact that bugs and butterflies don’t have the same far-reaching photo appeal as other natural subjects like things that are feathered or furred in savanna of safari. They are also difficult to spot, and little challenging to shoot; However, in frame-filling close-up, insects are actually amazingly photogenic. I will talk about Butterfly photography in Indian winters*** in this blog. Butterflies are also fantastically beautiful and photogenic and you can’t help but be seduced by their colour, intricate markings, delicacy and design and they’ve inhabited almost every type of environment and can migrate large distances – and in large numbers too .. so give it a shot!
**** When I say winter , I’m taking about India , especially south India, where you can still find lot of these small butterflies in winter!
Butterfly photography is easily accessible if you are an early riser and you can spot them in a local garden or a grassland filled with shrubs:
In this blog I will share some of the images I shot this winter and also share some pointers on how to shoot them ( They are just my techniques and not really tips).
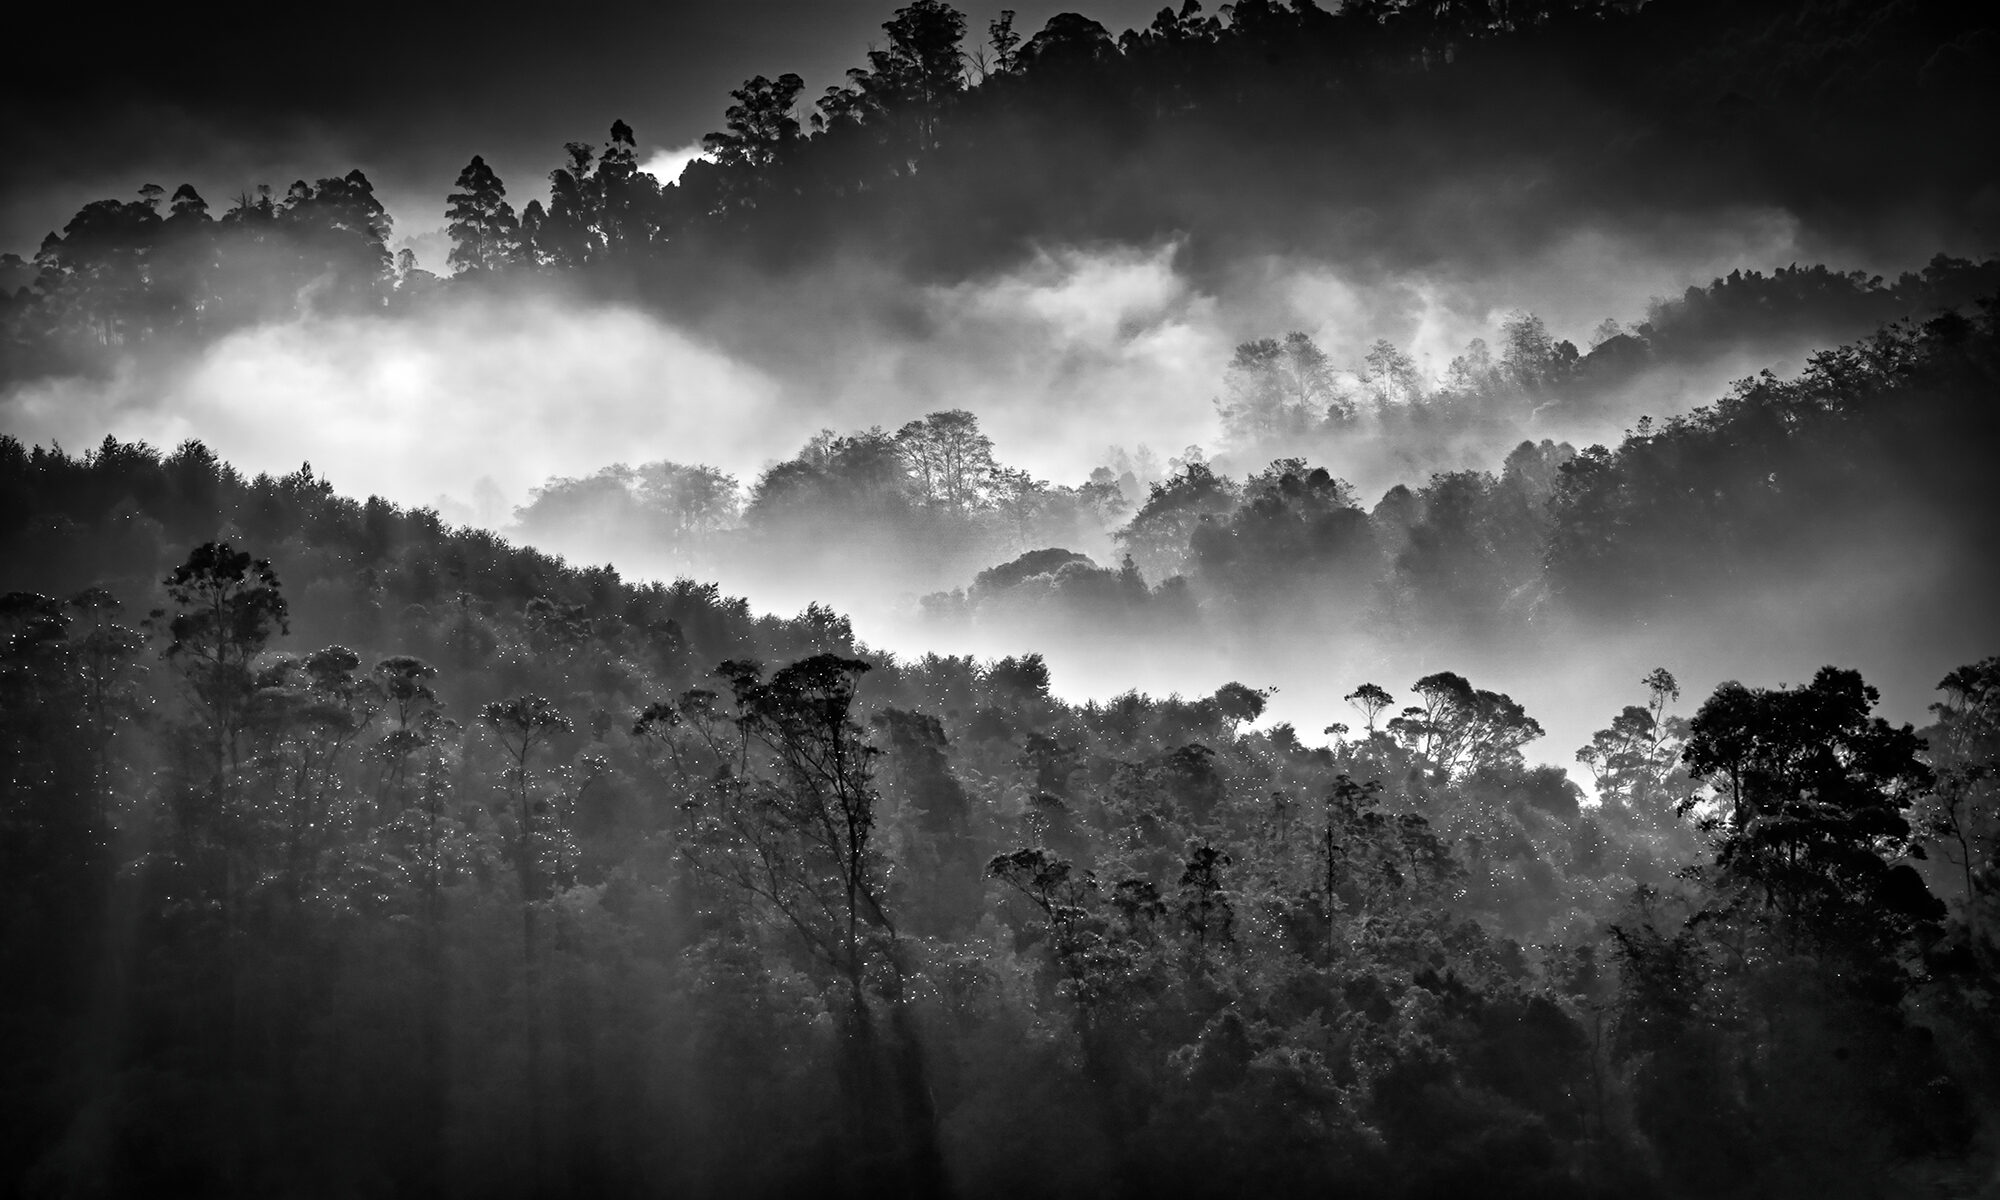
Most important thing you should do to shoot a butterfly is to get up early and photograph them during sunrise especially during winters ; the winter mist makes them sluggish and that helps you to approach them. Ideally you need to photograph butterflies soon after they emerge when they are still in pristine condition and also note that the window of opportunity is brief – mistime your visit, and you may need to wait long before you can try again.
Stalking is the best technique , This is when you follow (not chase!) butterflies around, waiting for them to rest, feed or bask. When they do, you need to efficiently move into position – just be mindful of the sun’s position; if you cast your shadow across your subject, you will likely frighten it away.
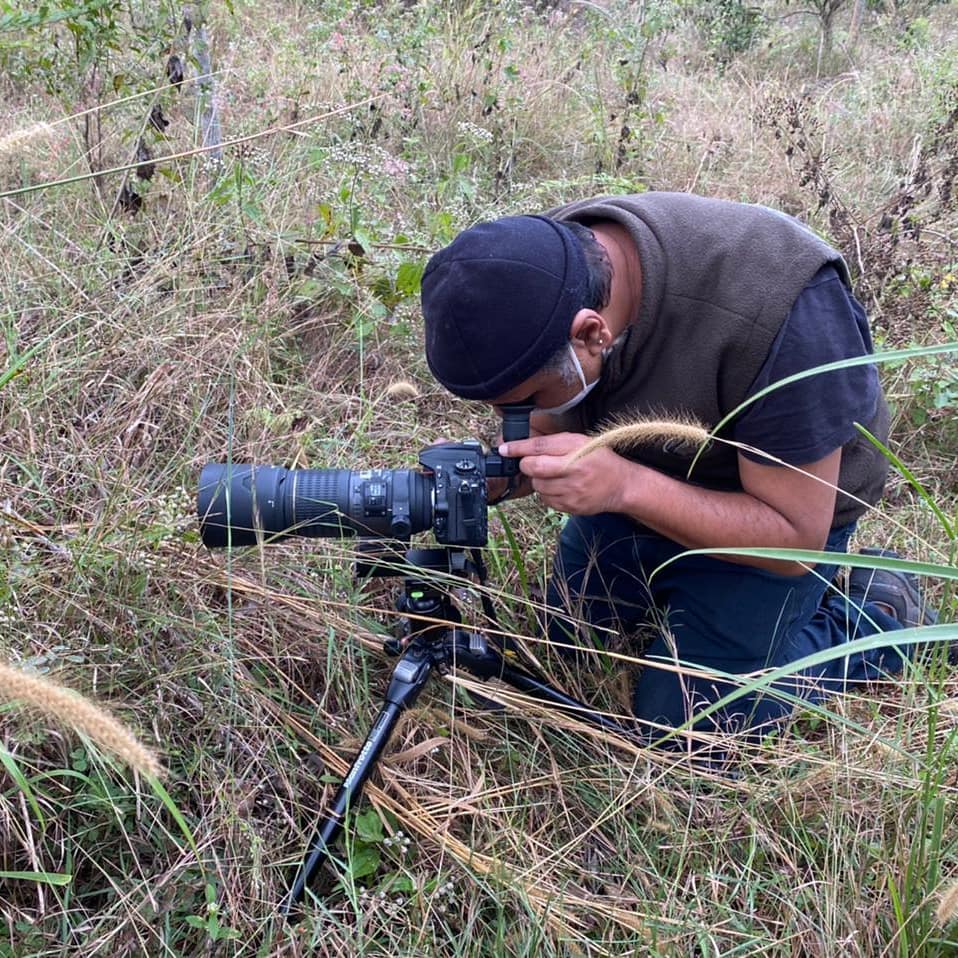
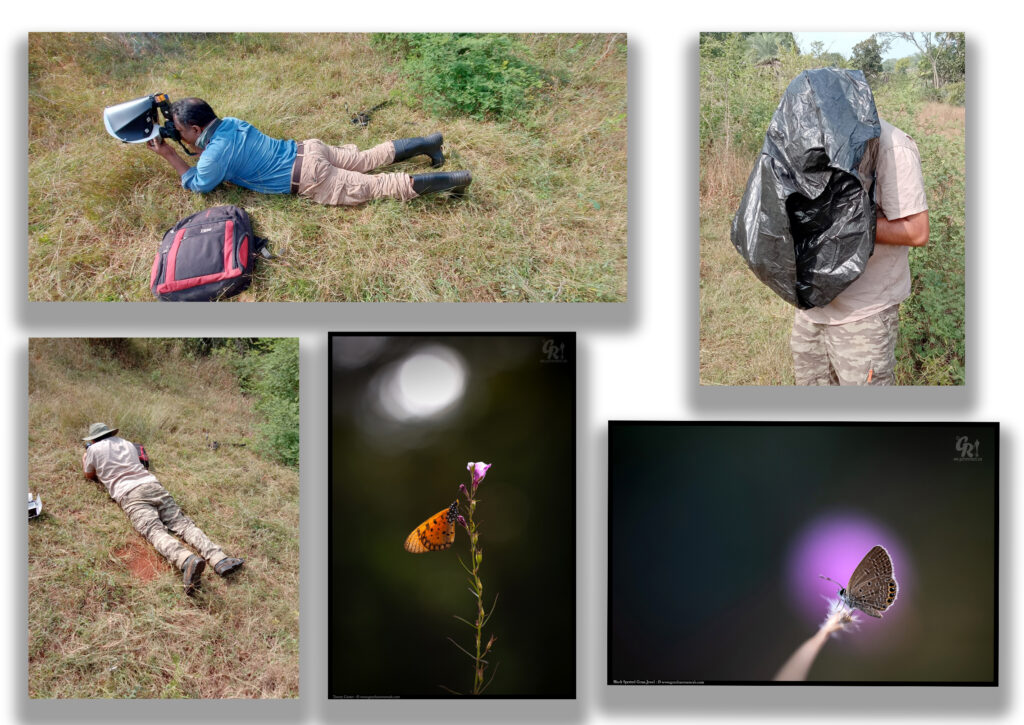
What all Circus ..we do to get a picture .. from top right in clockwise :
1. Vinod on the ground shooting (PC Vinod)
2. Myself reviewing the image with a portable dark room ( garbage bag )
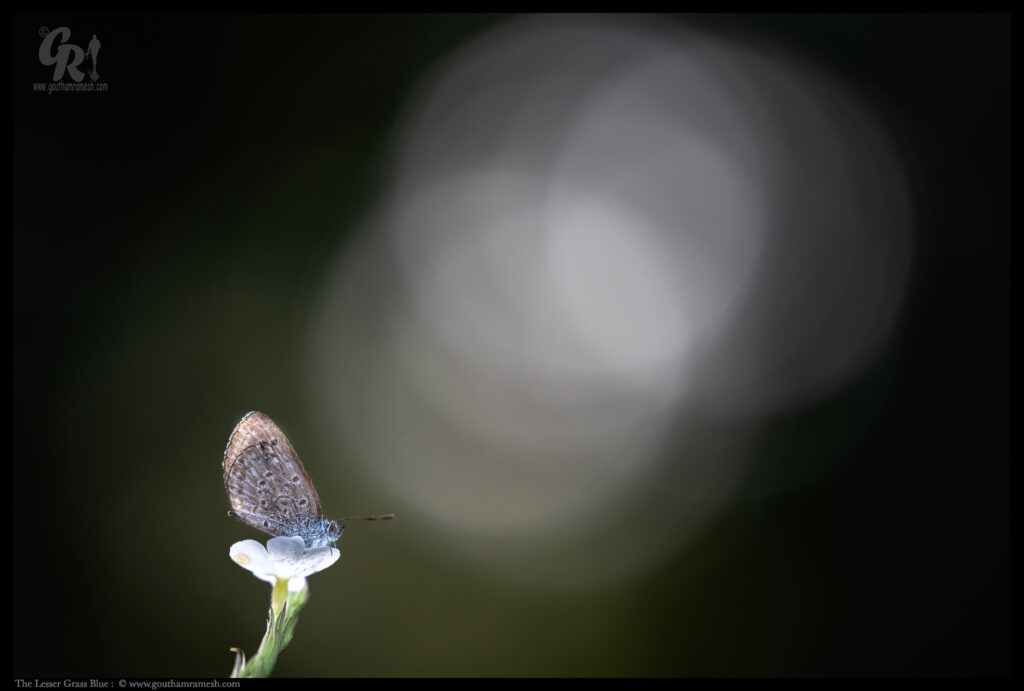
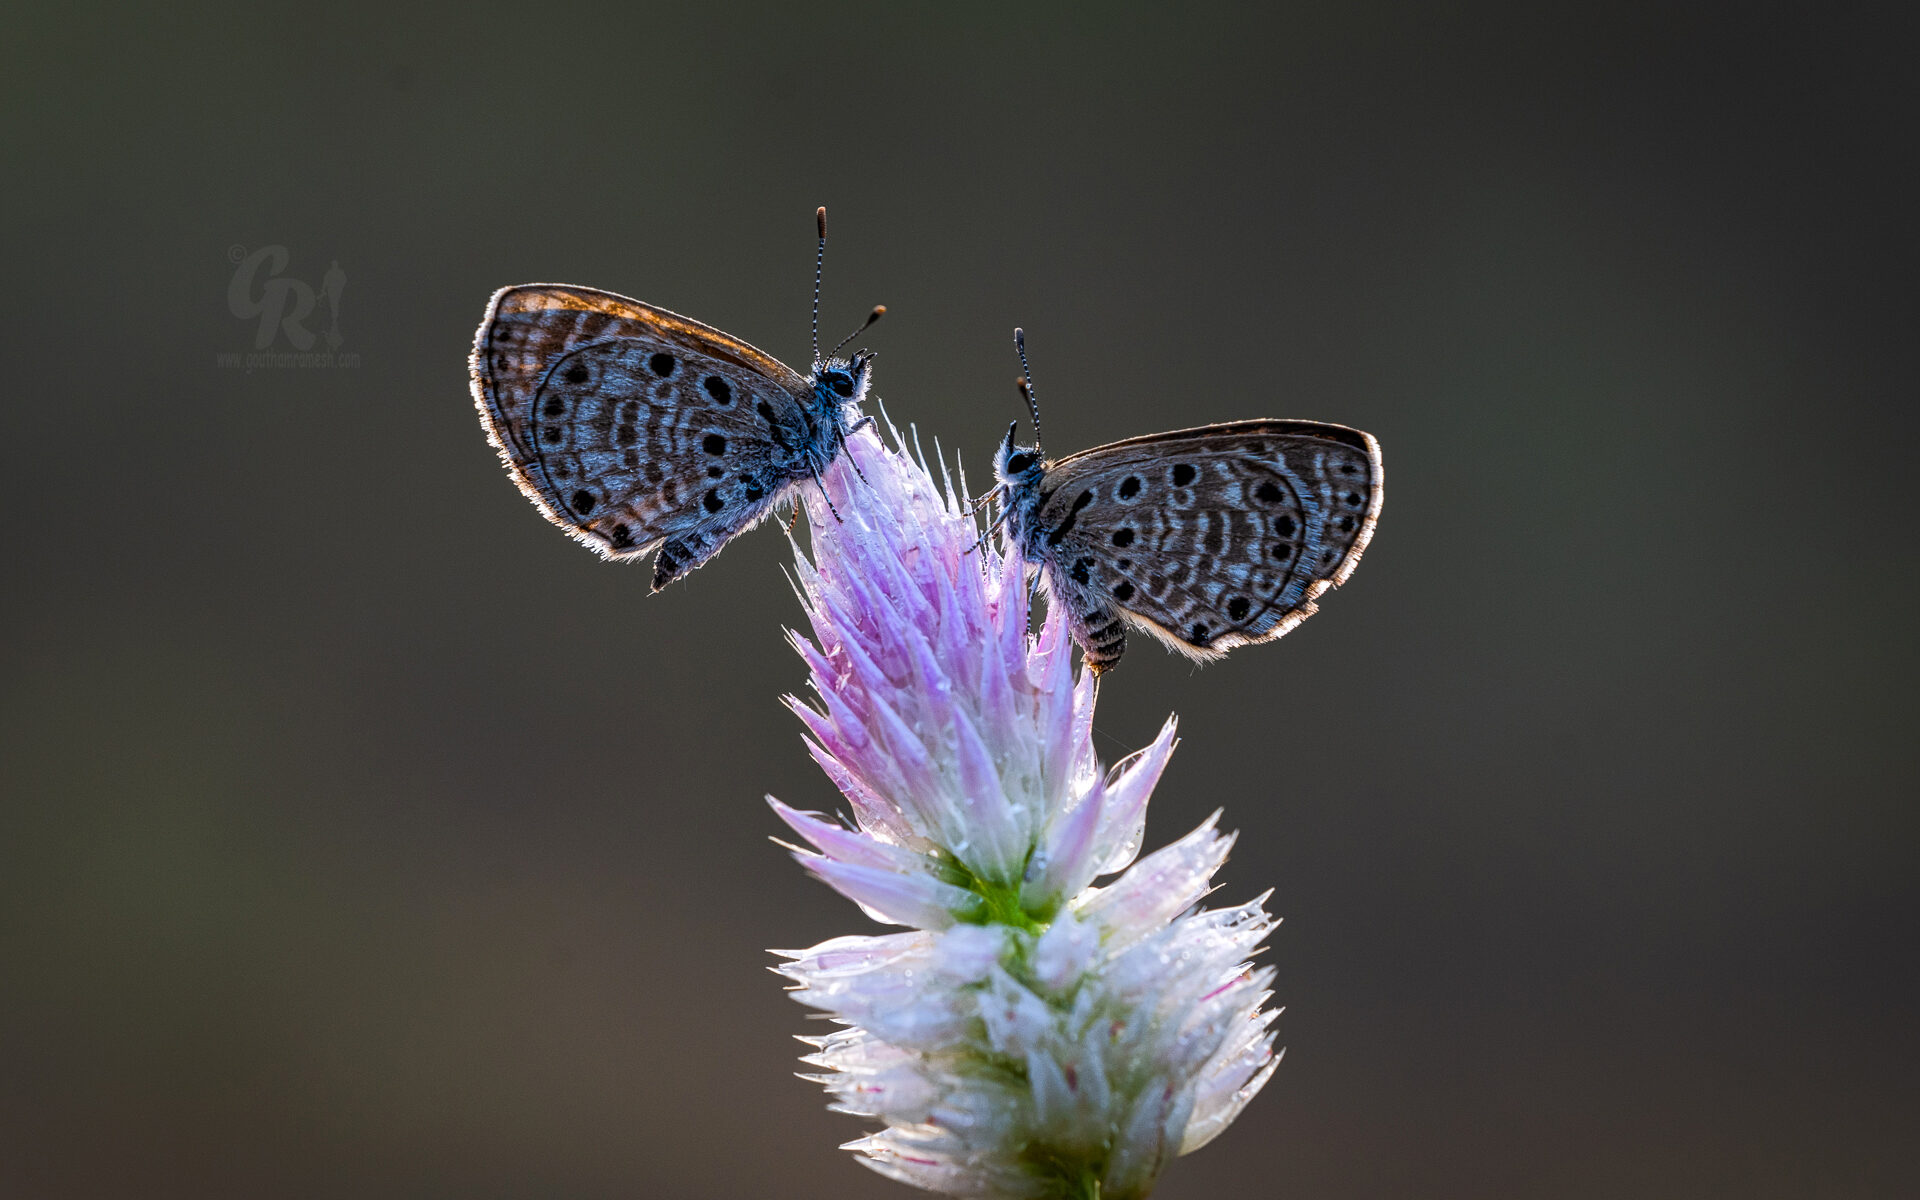
3. Grass jewel
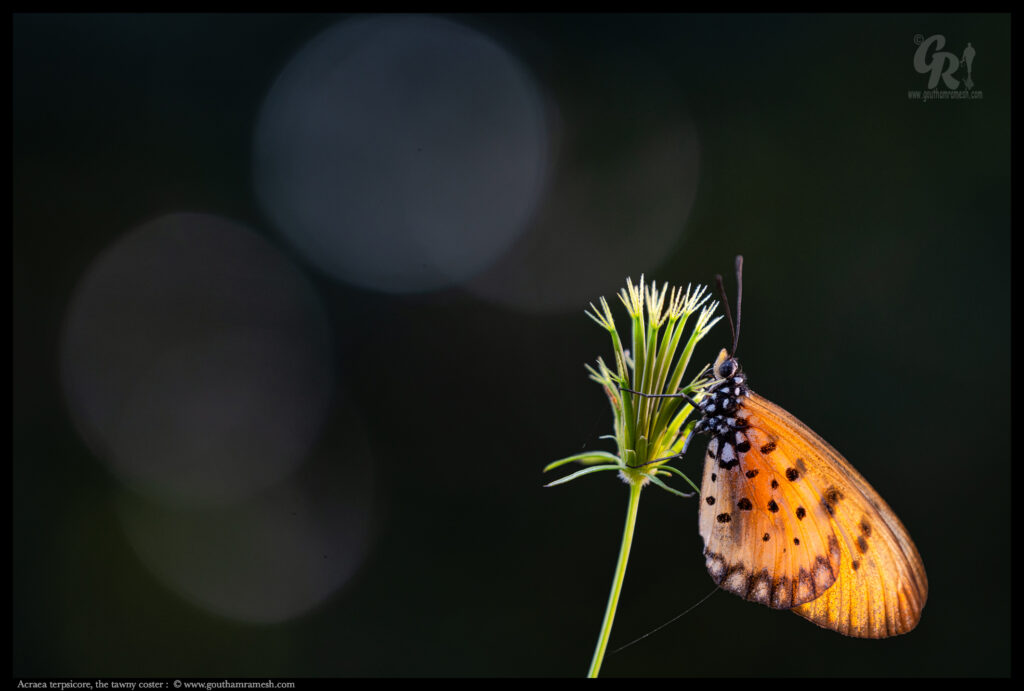
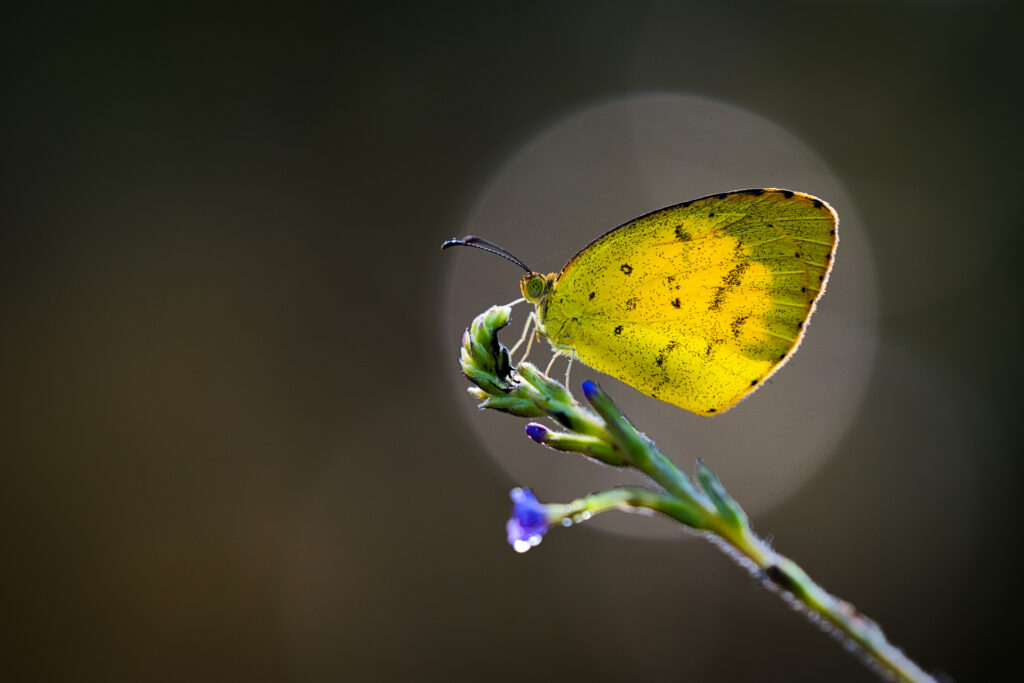
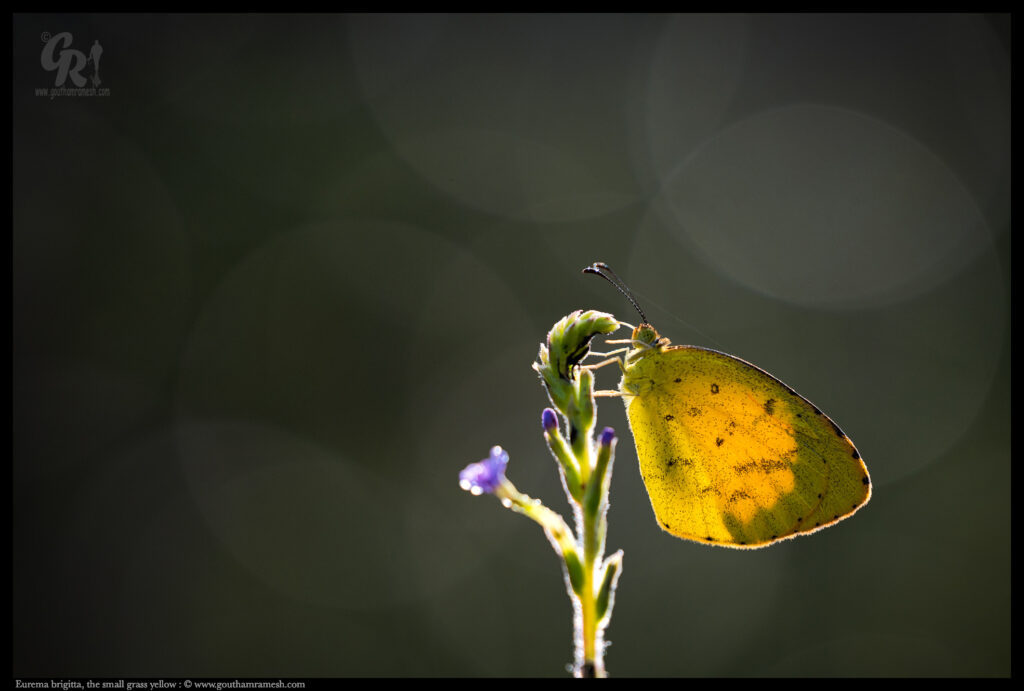
4. Tawny Coster .
5. Myself on the Ground shooting an image ( PC Vinod)
Depth of field is inherently shallow at higher magnifications when using a macro lens , so there is no leeway for error when focusing. However, if you are using a tripod you can focus via Live View – something I always prefer to do when practical, as I’m able to magnify the live image and manually focus on the butterfly’s head/eyes with good precision. A tripod also allows you to select a smaller aperture to achieve the depth of field needed, and – if necessary – use a reflector to light up shadow areas. Alternatively if you use latest cameras especially mirror less you can use focus peaking as an assisting aid.
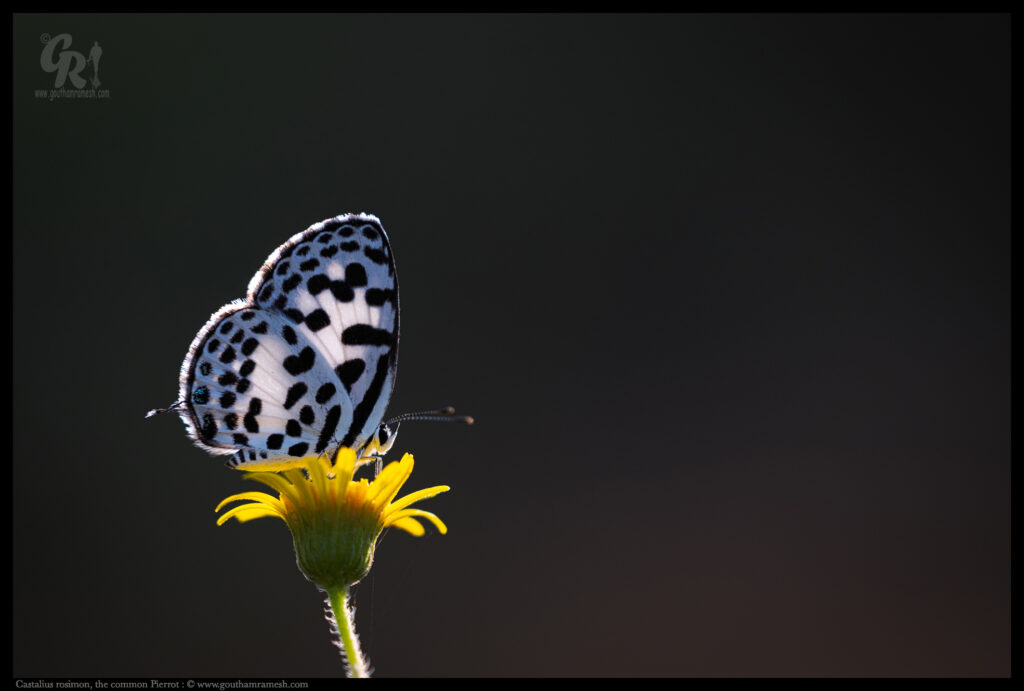
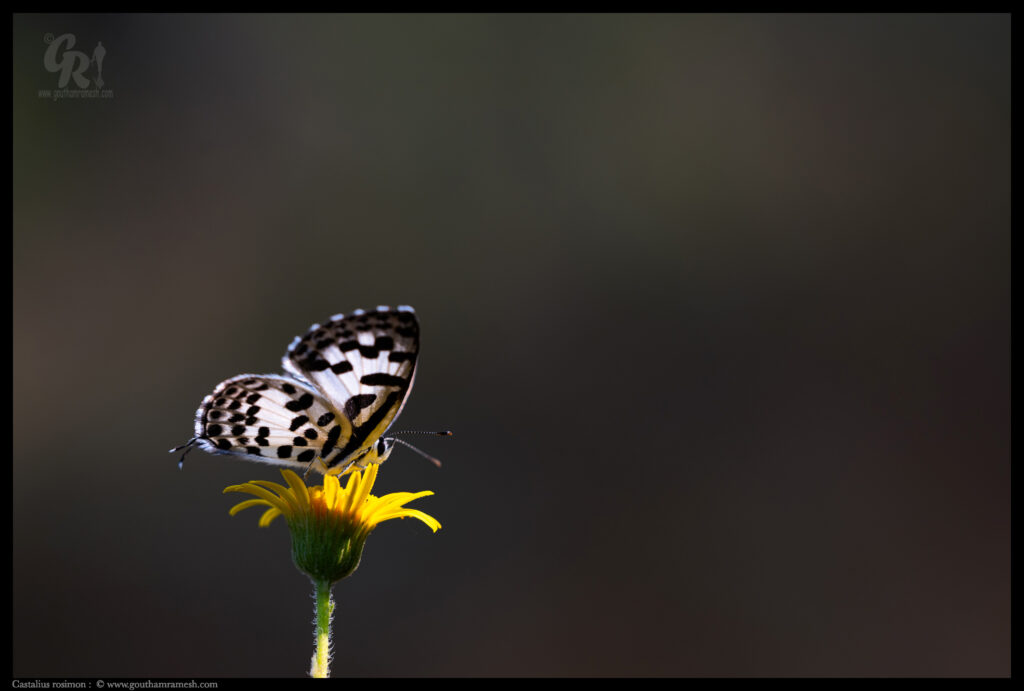
Personally, I usually want my subject to stand out boldly against a nicely diffused, out of focus backdrop , with a Bokeh so I will typically opt for the largest aperture possible (lowest f-stop number in my case its 2.8 ) Doing so also provides a faster shutter speed.
I don’t use flash on butterflies and prefer natural light and I do use a reflector at times or a LED light for fill in, which is not as bright as flash and still allows me to fill the shadows a bit.
Finally, be patient… very patient. When shooting butterflies, be prepared for moments of complete and utter hair-pulling frustration. You wouldn’t believe the number of times a butterfly will disappear into the distance just at the moment you are about to trigger the shutter! However, thanks to subject knowledge, good technique, perseverance and a little lady luck, you can capture great images.
Image Gallery
Thanks if you like the blog, you can leave a comment at Home Page
Cheers